Designer pour l'impression : Les considérations clés pour les fichiers PDF
Designer pour l'impression : Les considérations clés pour les fichiers PDF
.webp)
Qu'il s'agisse d'une affiche, d'une carte de visite ou d'une brochure, la conception pour l'impression nécessite toujours une attention particulière aux détails et des considérations clés pour s'assurer que les produits finaux répondent à vos attentes.
Ne pas prendre soin de certains aspects peut entraîner des retards, des résultats moins que parfaits ou nécessiter une réimpression.
Aimeriez-vous que cela se produise ? Bien sûr que non !
Utilisons donc les lignes directrices pour l'impression professionnelle fournies ici pour apprendre à designer pour l'impression comme un pro !
Qu'est-ce que la conception pour l'impression ?
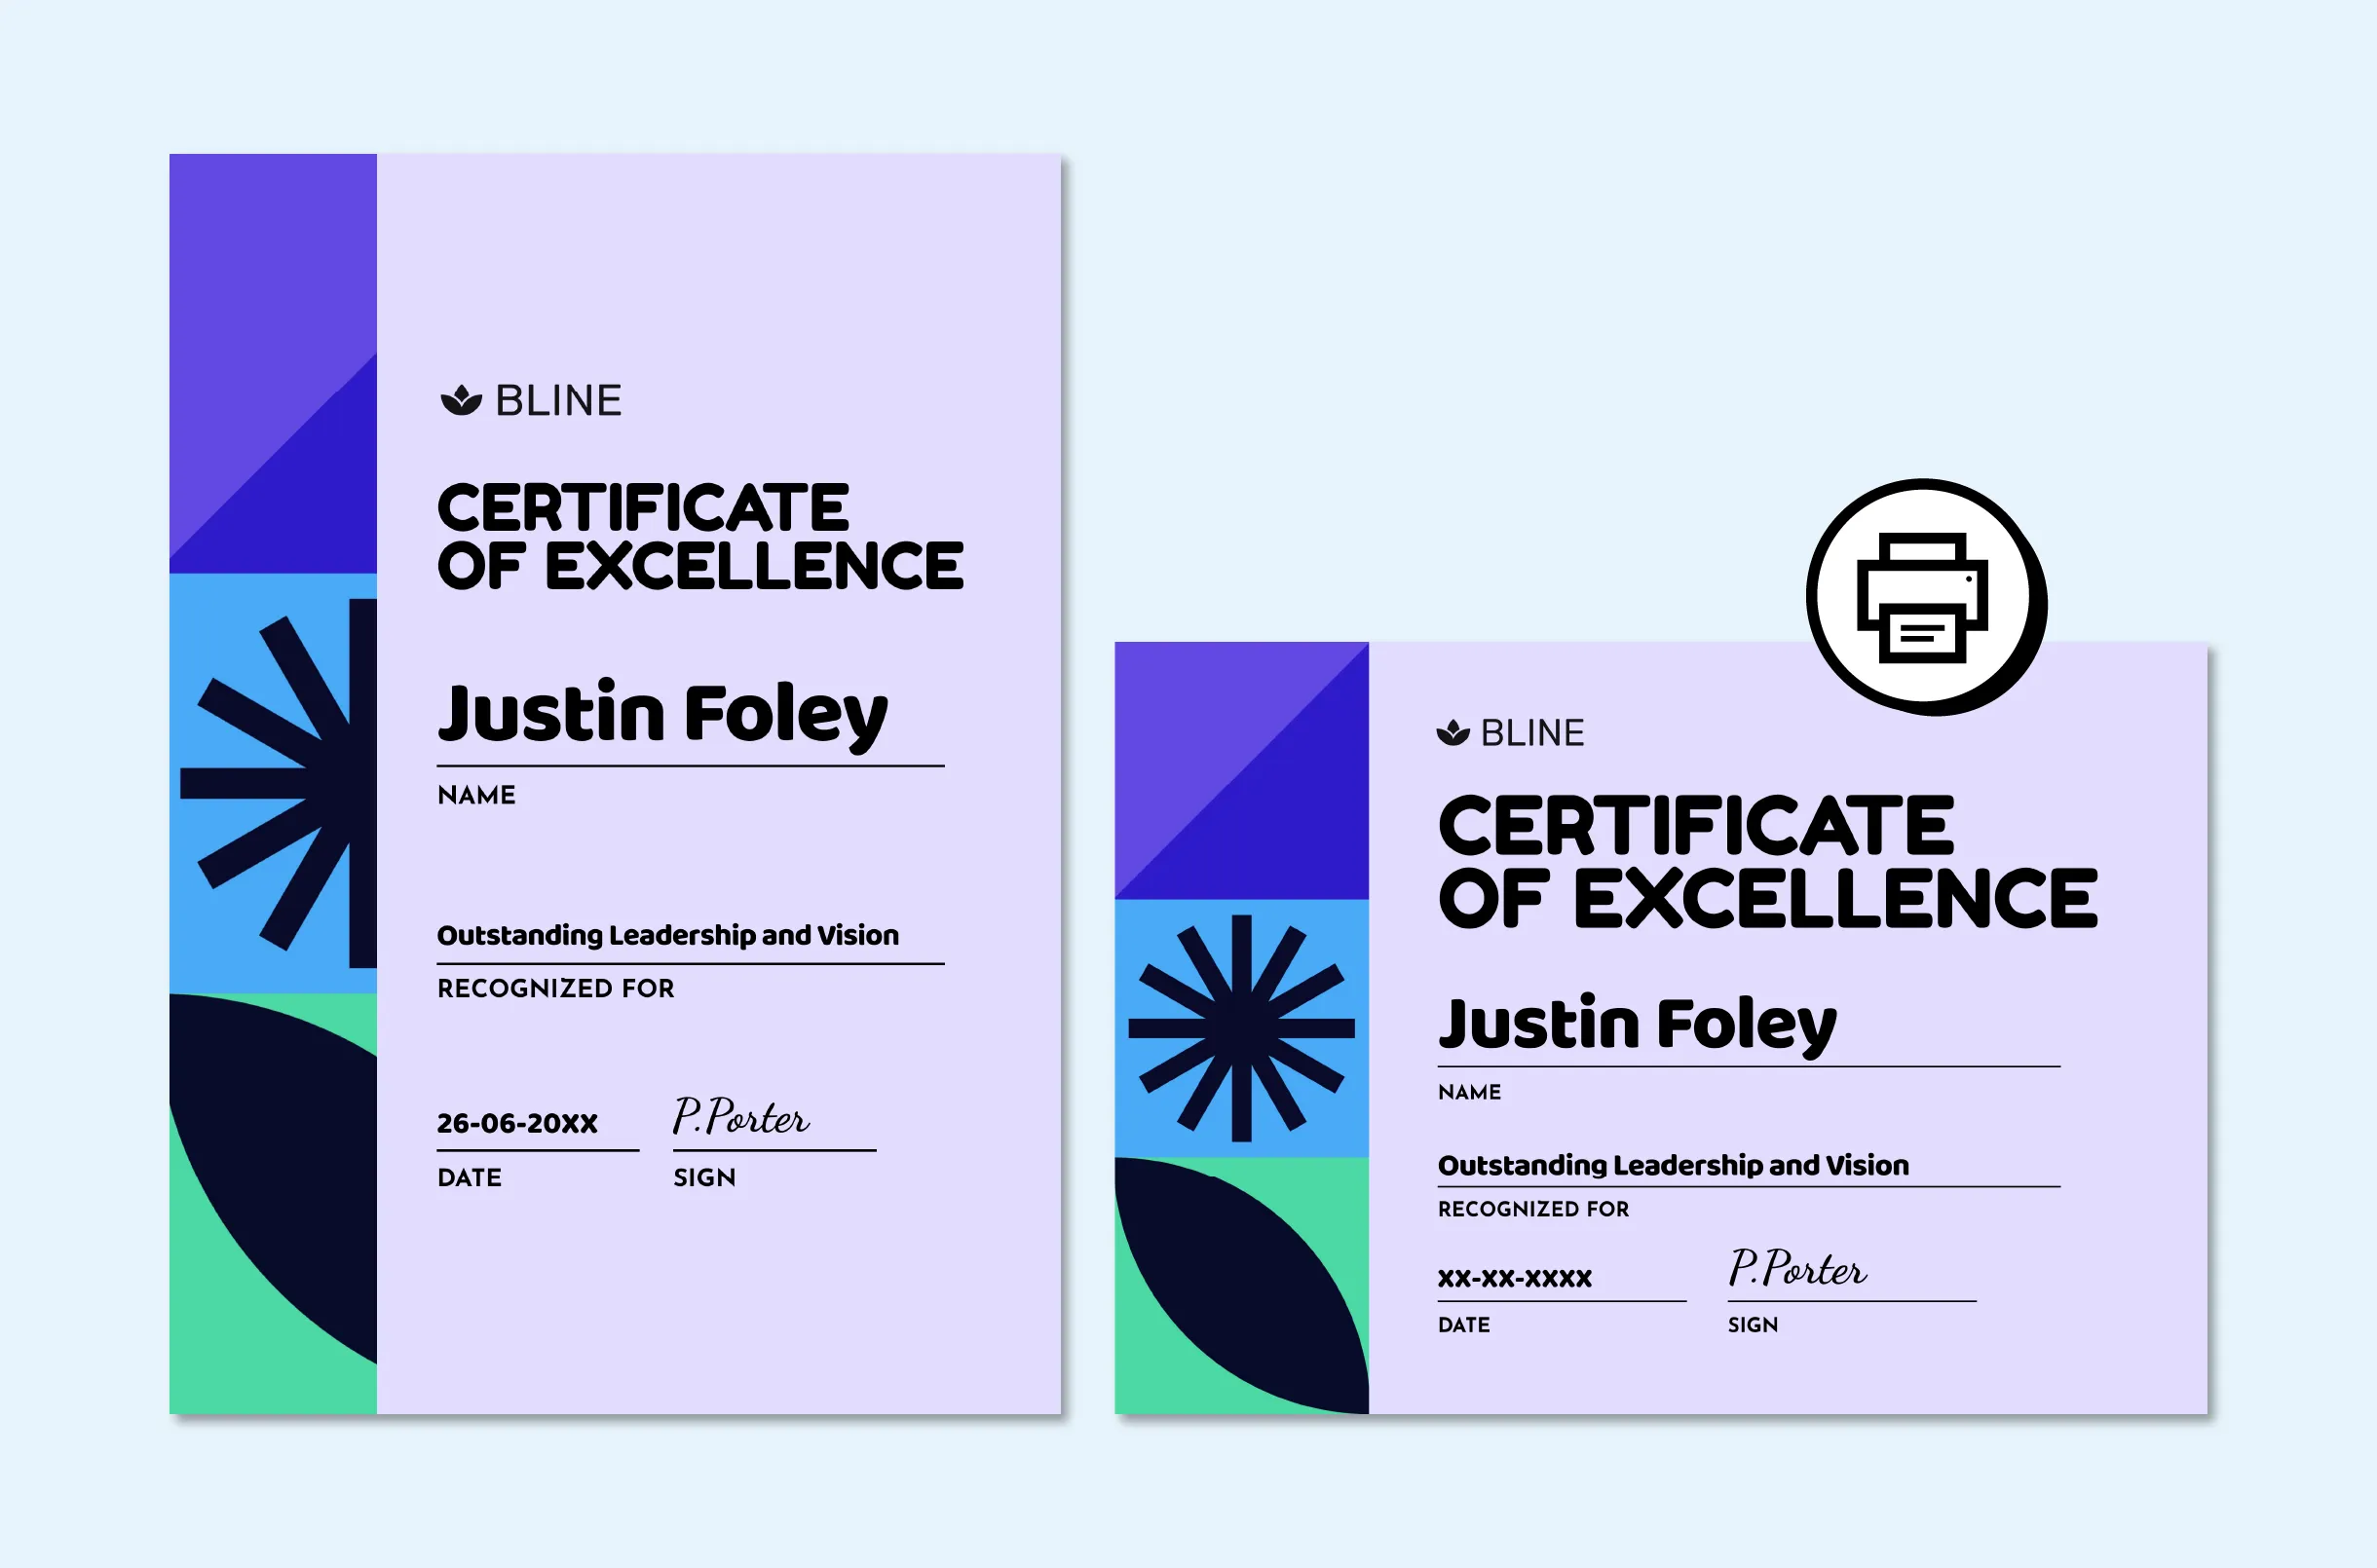
La conception pour l'impression vise à créer un contenu destiné à l'impression. Comme les conceptions numériques (qui apparaissent sur des espaces numériques ou des sites web), les conceptions pour l'impression transmettent un message spécifique au public par le biais de graphiques visuels.
À première vue, les dessins imprimés peuvent sembler rares pour beaucoup de gens comme vous, mais en y regardant de plus près, on s'aperçoit qu'ils sont partout autour de nous. Les dessins imprimés apparaissent sur les panneaux d'affichage, les bannières, les affiches, les calendriers, les menus, les brochures et les cartes de visite.
Les conceptions imprimées occupent une place centrale dans le secteur de l'édition, où une couverture bien conçue influe considérablement sur les ventes de livres. Les conceptions imprimées sont également cruciales pour les campagnes publicitaires et le marketing de marque, où elles contribuent à établir des liens solides avec le public cible.
C'est pourquoi il est essentiel de s'assurer que votre design fonctionne bien sur papier (après impression). Cela n'est possible que si vous avez correctement configuré le fichier pour l'impression. Par exemple, tenez compte du format, de la résolution, des fonds perdus, de la coupe, des profils de couleur, etc.
Pour garantir la précision et la perfection, il est essentiel de toujours enregistrer les fichiers au format PDF. Pourquoi est-ce si important ? Voyons cela dans la section suivante !
Importance des PDF prêts à imprimer
Les PDF sont le format le plus utile pour amener les documents à l'imprimante car ils préservent le formatage, les aspects prêts à l'impression (coupe et fond perdu), la précision des couleurs et la compression. De plus, les fichiers PDF prêts à imprimer sont les plus acceptés et préférés car ils accélèrent la production de l'impression workflow et :
- Les PDF sont universels ; vous pouvez les ouvrir facilement sur n'importe quel appareil sans perte de qualité ou d'information.
- Les fichiers PDF protègent vos documents contre toute modification ou copie non autorisée.
- Les fichiers PDF sont compacts, ce qui permet de réduire la taille des fichiers de conception sans compromettre les détails ou la résolution.
- Les PDF sont polyvalents et peuvent prendre en charge diverses options et fonctionnalités d'impression, notamment les fonds perdus, les repères de coupe, les profils de couleur, les calques, les éléments interactifs et la transparence.
- Les fichiers PDF contiennent toutes les informations nécessaires à l'impression.

Différences entre l'imprimé Design et le numérique Design
Les conceptions numériques présentent l'information de manière attrayante sur des écrans. Les dessins et modèles imprimés, quant à eux, sont destinés à présenter les informations sur des pages physiques. En outre, il existe plusieurs différences entre les deux ; examinons-les ici :
#1. CMJN vs RVB
Dans les conceptions numériques (où la plupart du contenu est créé pour les sites web ou les graphiques des articles de blog), le mode de couleur RVB est utilisé. Il s'agit d'un système de couleurs additif qui crée différentes couleurs à partir de combinaisons de rouge, de vert et de bleu.
Cependant, si vous créez une impression design, vous utiliserez le mode de couleur CMJN, car le mode RVB peut conduire à une production de couleurs fausses lors de l'impression. Le mode CMJN est un mode de couleur soustractif. Avec ce mode, vous pouvez créer toutes les couleurs possibles à partir de combinaisons de Cyan, Magenta, Jaune et Noir.
#2. Image haute résolution et résolution de l'écran
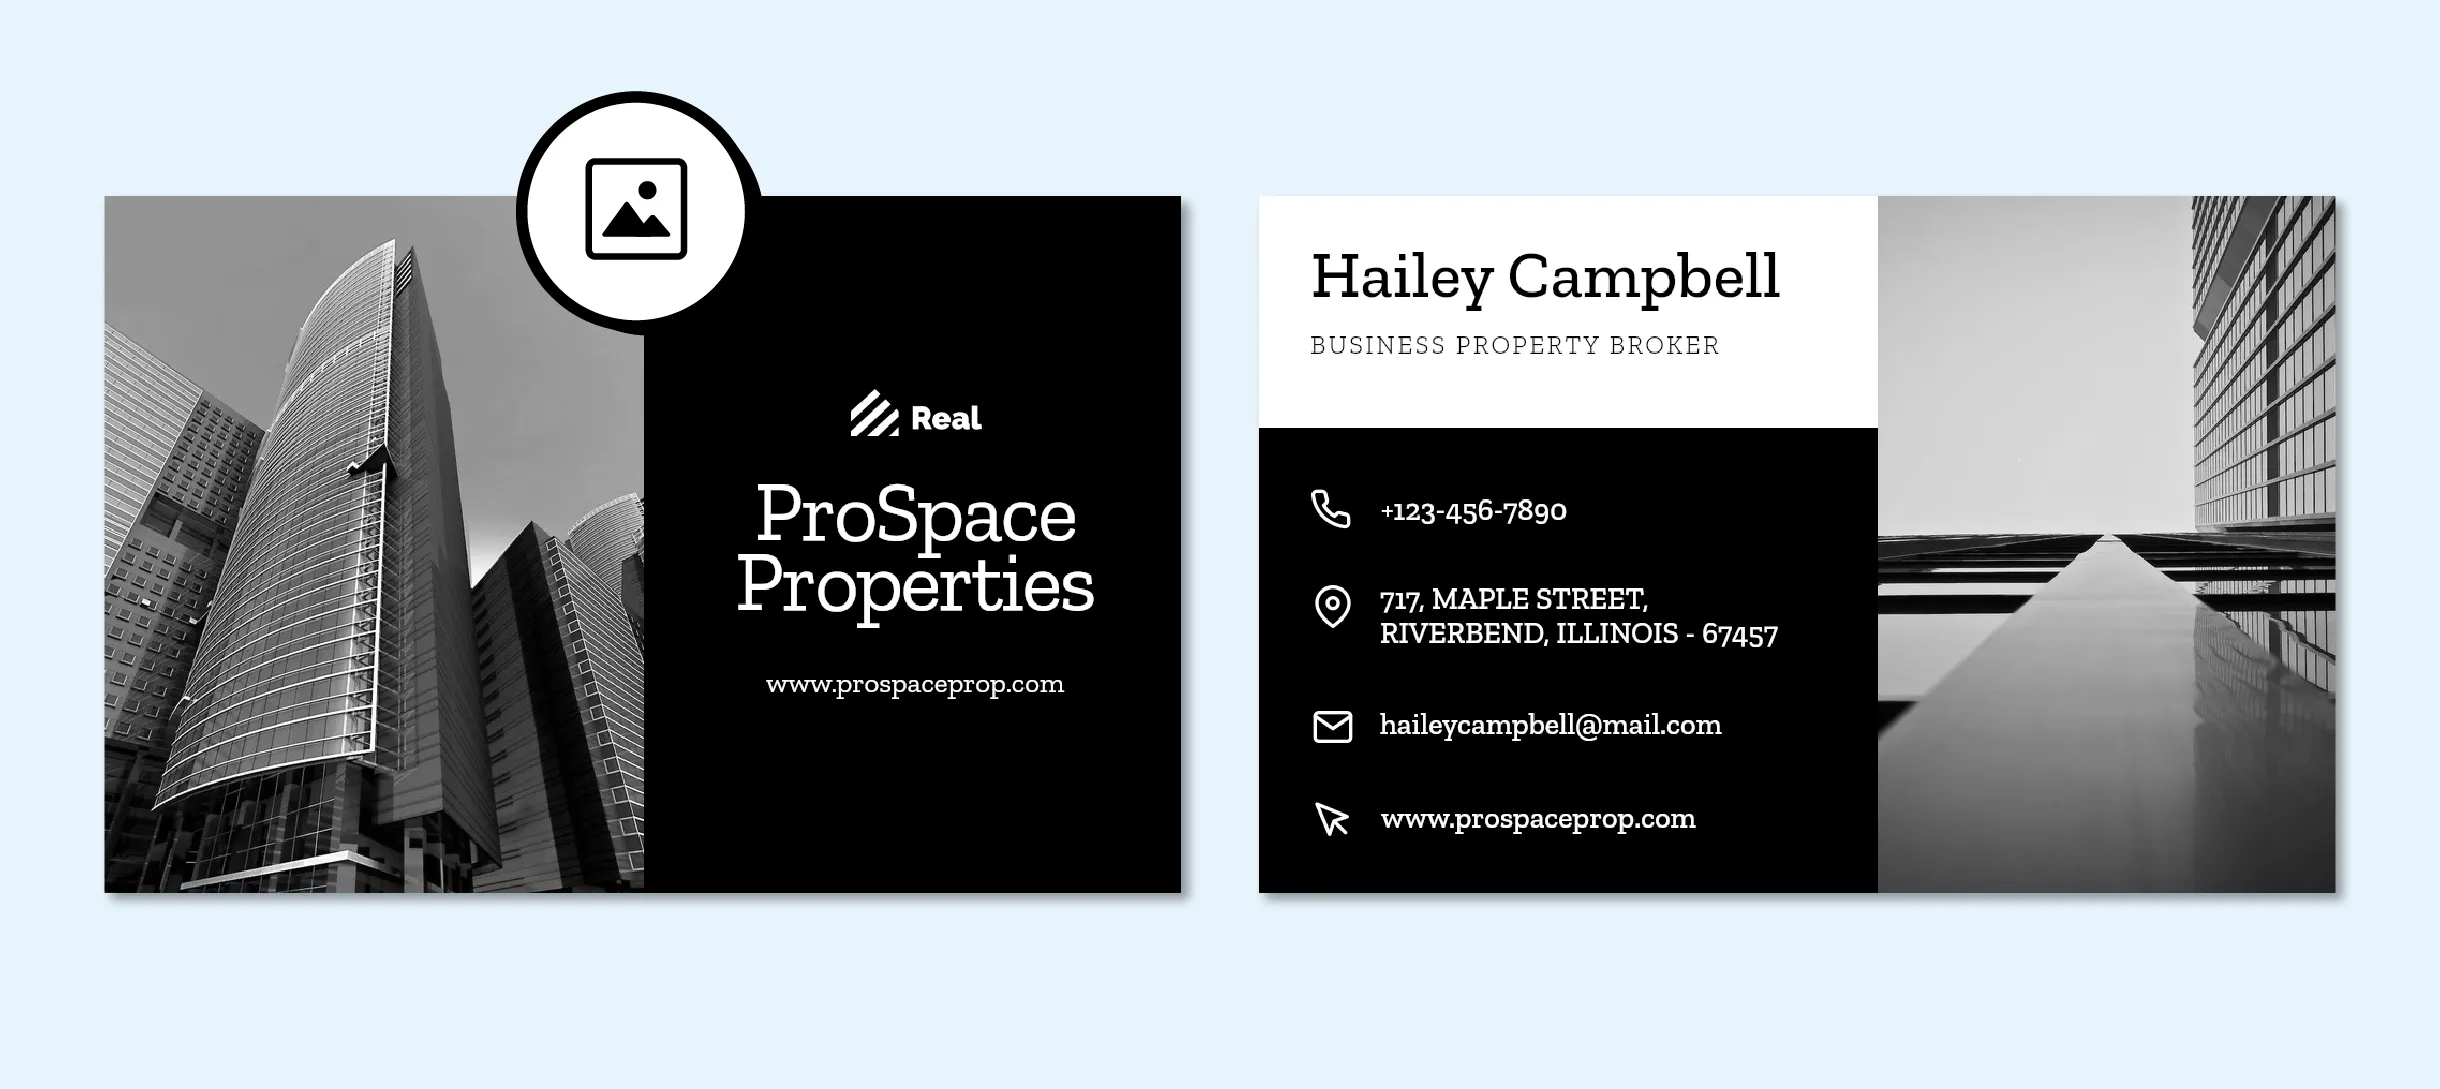
Le PPI (pixels par pouce) définit la résolution de l'image de l'écran, qui indique le nombre de pixels affichés par pouce d'une image. Un nombre plus élevé de pixels se traduit toujours par une meilleure qualité d'image. Le nombre de points par pouce (DPI) indique la résolution d'impression.
L'ensemble de la zone de visualisation d'un écran d'ordinateur est constitué de pixels et a une résolution fixe (72 ppi à 100 PPI). Une image optimisée pour cette résolution paraîtra toujours naturelle et détaillée à l'œil.
Cependant, ses blocs de pixels deviendront facilement apparents lorsque l'image sera imprimée en taille réelle. Par conséquent, si vous souhaitez conserver les détails et la netteté de votre image haute résolution même après l'impression, réglez-la toujours à 300 ppi (la meilleure résolution d'image pour l'impression).
#3. PDF vs JPEG ou PNG
Les plateformes numériques et les documents imprimés ont des formats de fichiers différents. Vous devez donc tenir compte de la compatibilité des formats de fichiers lorsque vous concevez des documents destinés à l'impression. Par exemple, les fichiers PDF sont considérés comme le meilleur choix pour l'impression, tandis que les fichiers JPEG ou PNG conviennent aux plateformes numériques. Le format JPEG est préféré pour l'art numérique et les photos, tandis que le format PNG est une option appropriée pour les pages web.
Comment créer le design pour l'impression ?
Suivez les étapes mentionnées ci-dessous lors de la création du design pour l'impression si vous voulez obtenir des documents imprimés visuellement attrayants et professionnels :
#1. Définissez votre objectif et votre public
Avant de commencer la conception pour l'impression, réfléchissez à la finalité, aux objectifs et au public cible de votre document imprimé. Par exemple, ce document fera la promotion de vos services, de vos produits ou d'un événement. La compréhension de vos objectifs et de vos buts vous guidera tout au long du processus design et vous permettra de créer un document visuellement attrayant et efficace design.
#2. Choisir le bon logiciel
Le logiciel peut vous aider à créer des illustrations prêtes à être imprimées. Mais avant de choisir un logiciel, assurez-vous qu'il dispose de toutes les fonctionnalités (300 DPI, marges perdues et repères de coupe, espace colorimétrique CMYK, exportation de documents multipages, conformité PDF X-4) spécialement conçues pour le design d'impression. Si vous pensez que vous aurez besoin de plusieurs logiciels, car il est impossible de trouver toutes les fonctionnalités requises dans un seul logiciel, vous vous trompez.
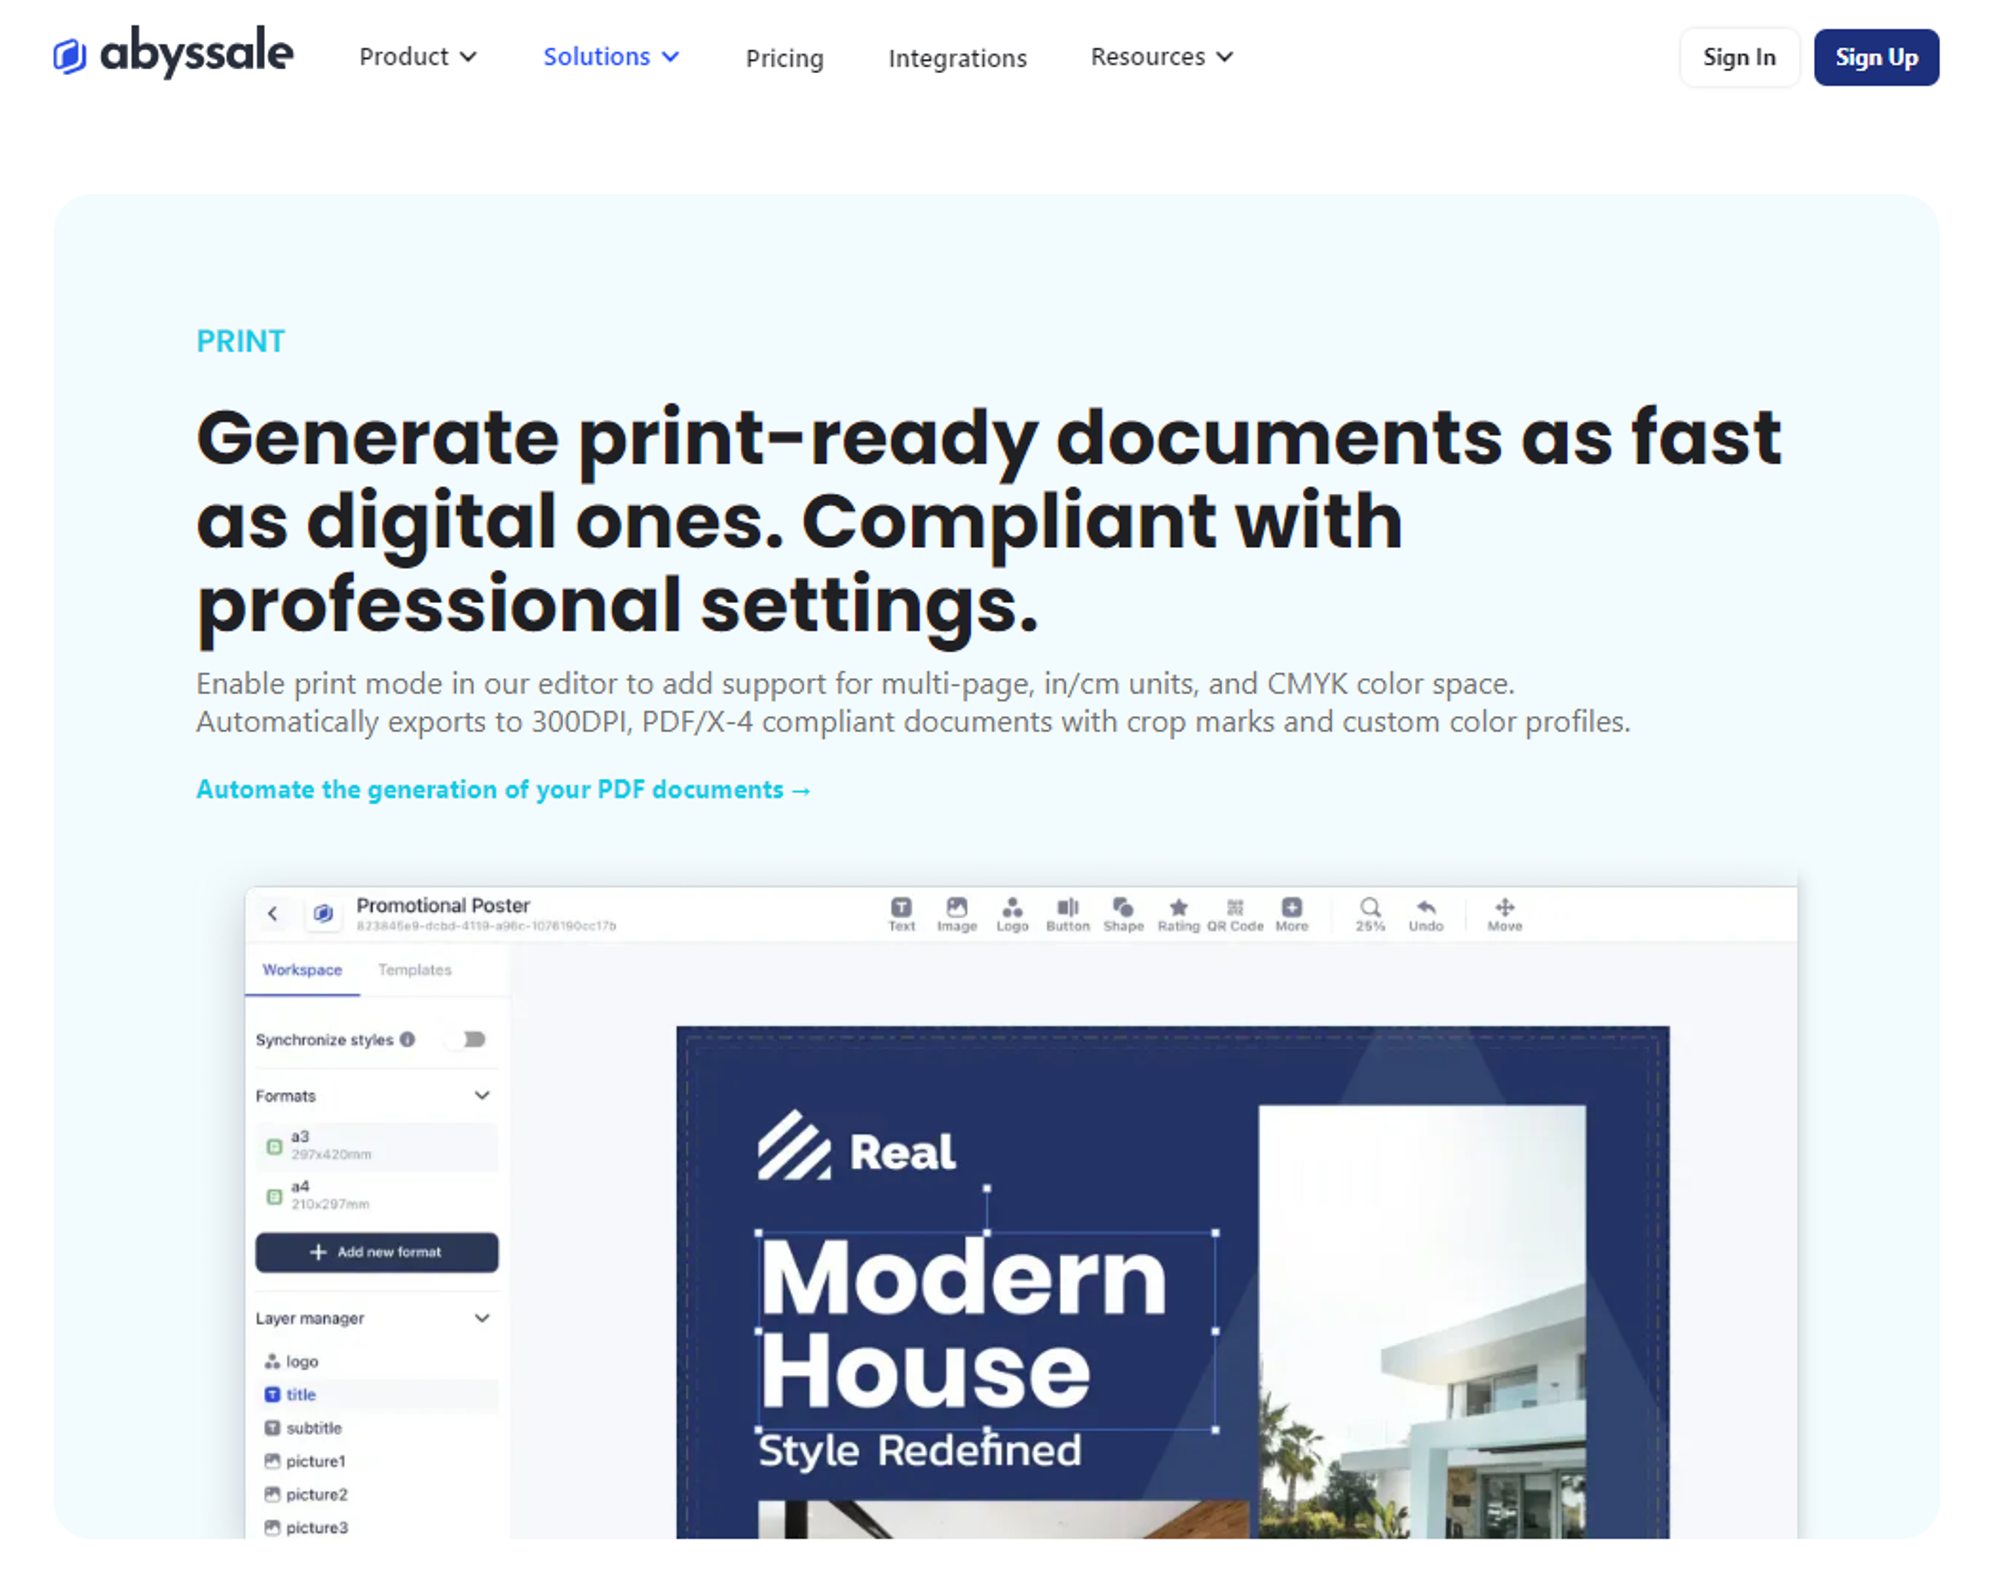
Notre outil offre toutes les fonctionnalités requises, de l'espace colorimétrique CMYK aux fichiers PDF/X-4 prêts à l'impression, ce qui rend votre travail agréable. L'outil est facile à utiliser, vous n'aurez donc pas besoin de formation.
Il vous permet de designer pour l'impression rapidement des documents multiformats et multipages. Familiarisez-vous avec les capacités de Abyssale et maximisez votre potentiel design !
#3. Mise en place du document
Il est essentiel de commencer à créer le document avec la bonne résolution, les bonnes dimensions et le bon mode de couleur. La consultation des directives PDF prépresse ici peut vous aider à design votre document en conséquence. Ensuite, revérifiez et assurez-vous que vous avez configuré votre document en conséquence.
Par exemple, définissez une résolution élevée (300 dpi) pour garantir la qualité de l'impression, sélectionnez les unités de mesure appropriées (centimètres, pouces) et définissez le mode couleur sur CMYK pour une production de couleurs précises dans les documents imprimés.
Taille et mise en page des pages
Tenez compte de la taille finale de la page lors de la préparation du fichier PDF, en particulier lors de la création de brochures, d'affiches ou de dépliants. Cela permet de s'assurer que votre fichier PDF a les bonnes dimensions. Toute modification ultérieure entraînera une perte de qualité ou une distorsion.
Outre la taille des pages, vous devez maintenir une mise en page cohérente pour l'impression. Pour cela, vous devez aligner uniformément les images et les dessins. En assurant cette uniformité, vous obtiendrez des impressions visuellement attrayantes.
Zone de saignée, de coupe et de sécurité
Le fond perdu est un élément important mais peu connu des PDF prêts à imprimer. Il s'agit d'une marge supplémentaire (1/8 de pouce) autour des quatre côtés de votre fichier. Le fond perdu permet d'éviter que des bandes blanches de papier non imprimé n'apparaissent sur les bords. De plus, si la couleur dépasse la ligne de coupe, le fond perdu vous permettra d'obtenir des documents d'impression propres et de qualité professionnelle.
Les repères de coupe ou le fichier de la maquette vous indiquent où couper le papier après l'impression. Ils vous guident tout au long du processus de découpage et vous garantissent une finition parfaite. Prenez donc en compte les paramètres de fond perdu et de coupe dès le début de la préparation du fichier PDF.
Outre ces deux éléments, une zone de sécurité est tout aussi importante. Il s'agit de la marge à l'intérieur de laquelle tous les éléments de votre site design (images, texte et graphiques) doivent être placés et qui garantit qu'aucun de ces éléments ne sera coupé lors de l'impression.
#4. Choisir les bonnes couleurs
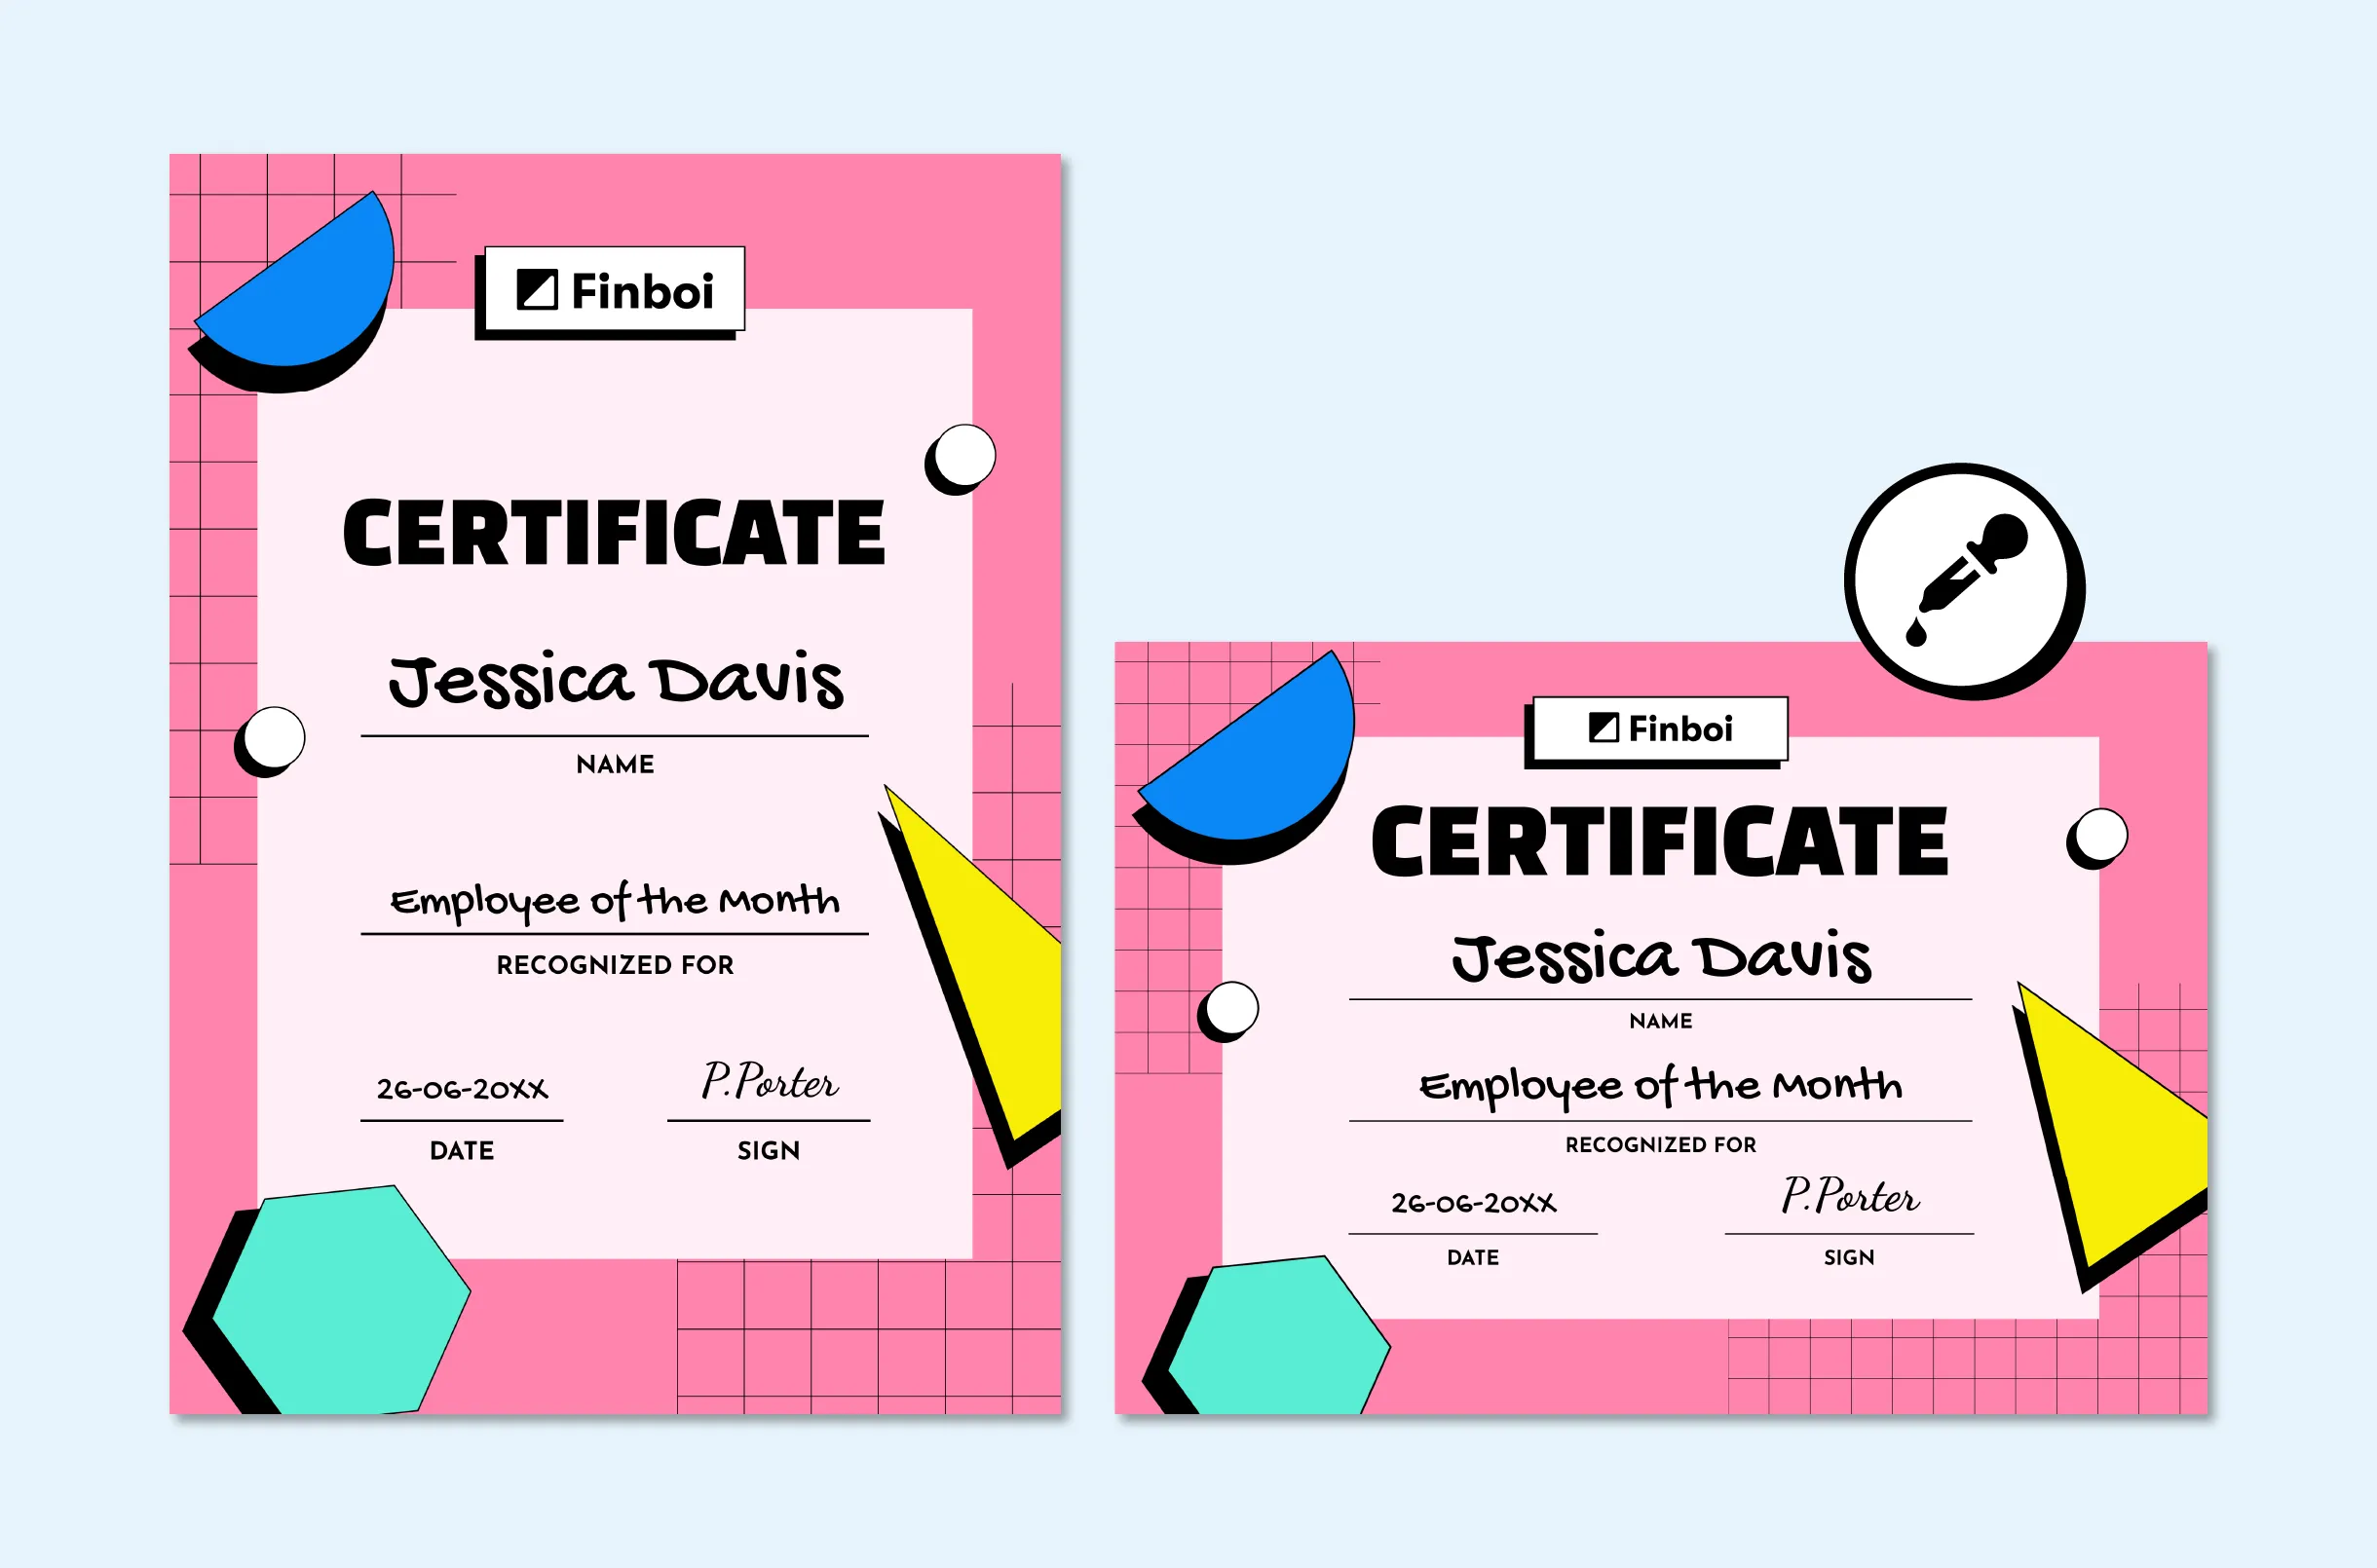
Comprendre la gestion des couleurs dans les PDF et choisir les bons modes et profils de couleurs est essentiel pour la représentation des couleurs à l'impression.
Utilisation du mode couleur CMJN
Le mode de couleur approprié pour votre impression design est CMYK (ou CMJN). Si vous avez choisi le mode RVB, convertissez-le en mode CMJN pour éviter des changements de couleur inattendus. Calibrez également le moniteur pour vous assurer que les couleurs à l'écran correspondent à celles de la sortie imprimée.
Profils de couleur et échantillons
Le profil de couleur est un ensemble d'instructions qui garantit une production de couleurs cohérente sur différents appareils lors de l'impression. Le choix de profils de couleur de haute qualité permet d'améliorer considérablement la précision des couleurs.
- Typographie et polices de caractères
Vous devez choisir des polices de caractères adaptées à votre message. Évitez d'utiliser des polices de caractères extravagantes pour maintenir la lisibilité et la cohérence. Veillez à ce que les polices soient intégrées et compatibles.
Intégrer des polices dans les PDF
Les polices intégrées incluent les fichiers de police dans le document PDF. Les destinataires peuvent les utiliser même s'ils n'ont pas installé cette police sur leur ordinateur. L'incorporation de polices dans les PDF ou les polices esquissées permet d'éviter les problèmes (tels que les polices manquantes) lorsque vous envoyez vos créations à l'impression. En outre, elle garantit que le design original soit conservé lors de l'impression.
Assurer la compatibilité des polices de caractères
Utilisez toujours des polices simples et lisibles. Concentrez-vous sur le crénage, la lisibilité et le respect des exigences de l'imprimerie. Évitez d'utiliser différents styles de polices. Il est préférable d'utiliser des polices sans empattement comme Helvetica ou Arial pour les titres et les en-têtes. Vous pouvez utiliser des polices à empattement comme Garamond ou Times New Roman pour le corps du texte.
- Préparation de l'image
En matière d'impression, il ne faut pas négliger les graphiques et la résolution de l'image :
Images en haute résolution
Vous devez toujours utiliser des images à haute résolution (300 dpi) pour obtenir des impressions nettes et de haute qualité lors de la conception. N'oubliez pas que les images à faible résolution peuvent apparaître floues après l'impression. En outre, pour l'impression en haute résolution, vous devez vous procurer les images sur des sites de stock de photos réputés ou utiliser vos propres photos afin de préserver l'intégrité visuelle des impressions finales.
Graphiques vectoriels et graphiques tramés
Les graphiques matriciels, également connus sous le nom de bitmaps, sont constitués de pixels rectangulaires. Chaque rectangle contient une couleur disposée en grille dans l'image finale. Les graphiques vectoriels sont constitués de chemins et forment différentes formes de polygones, qui constituent finalement l'image. Ces chemins sont reliés par des points, que vous ne pouvez voir que lors de l'édition.
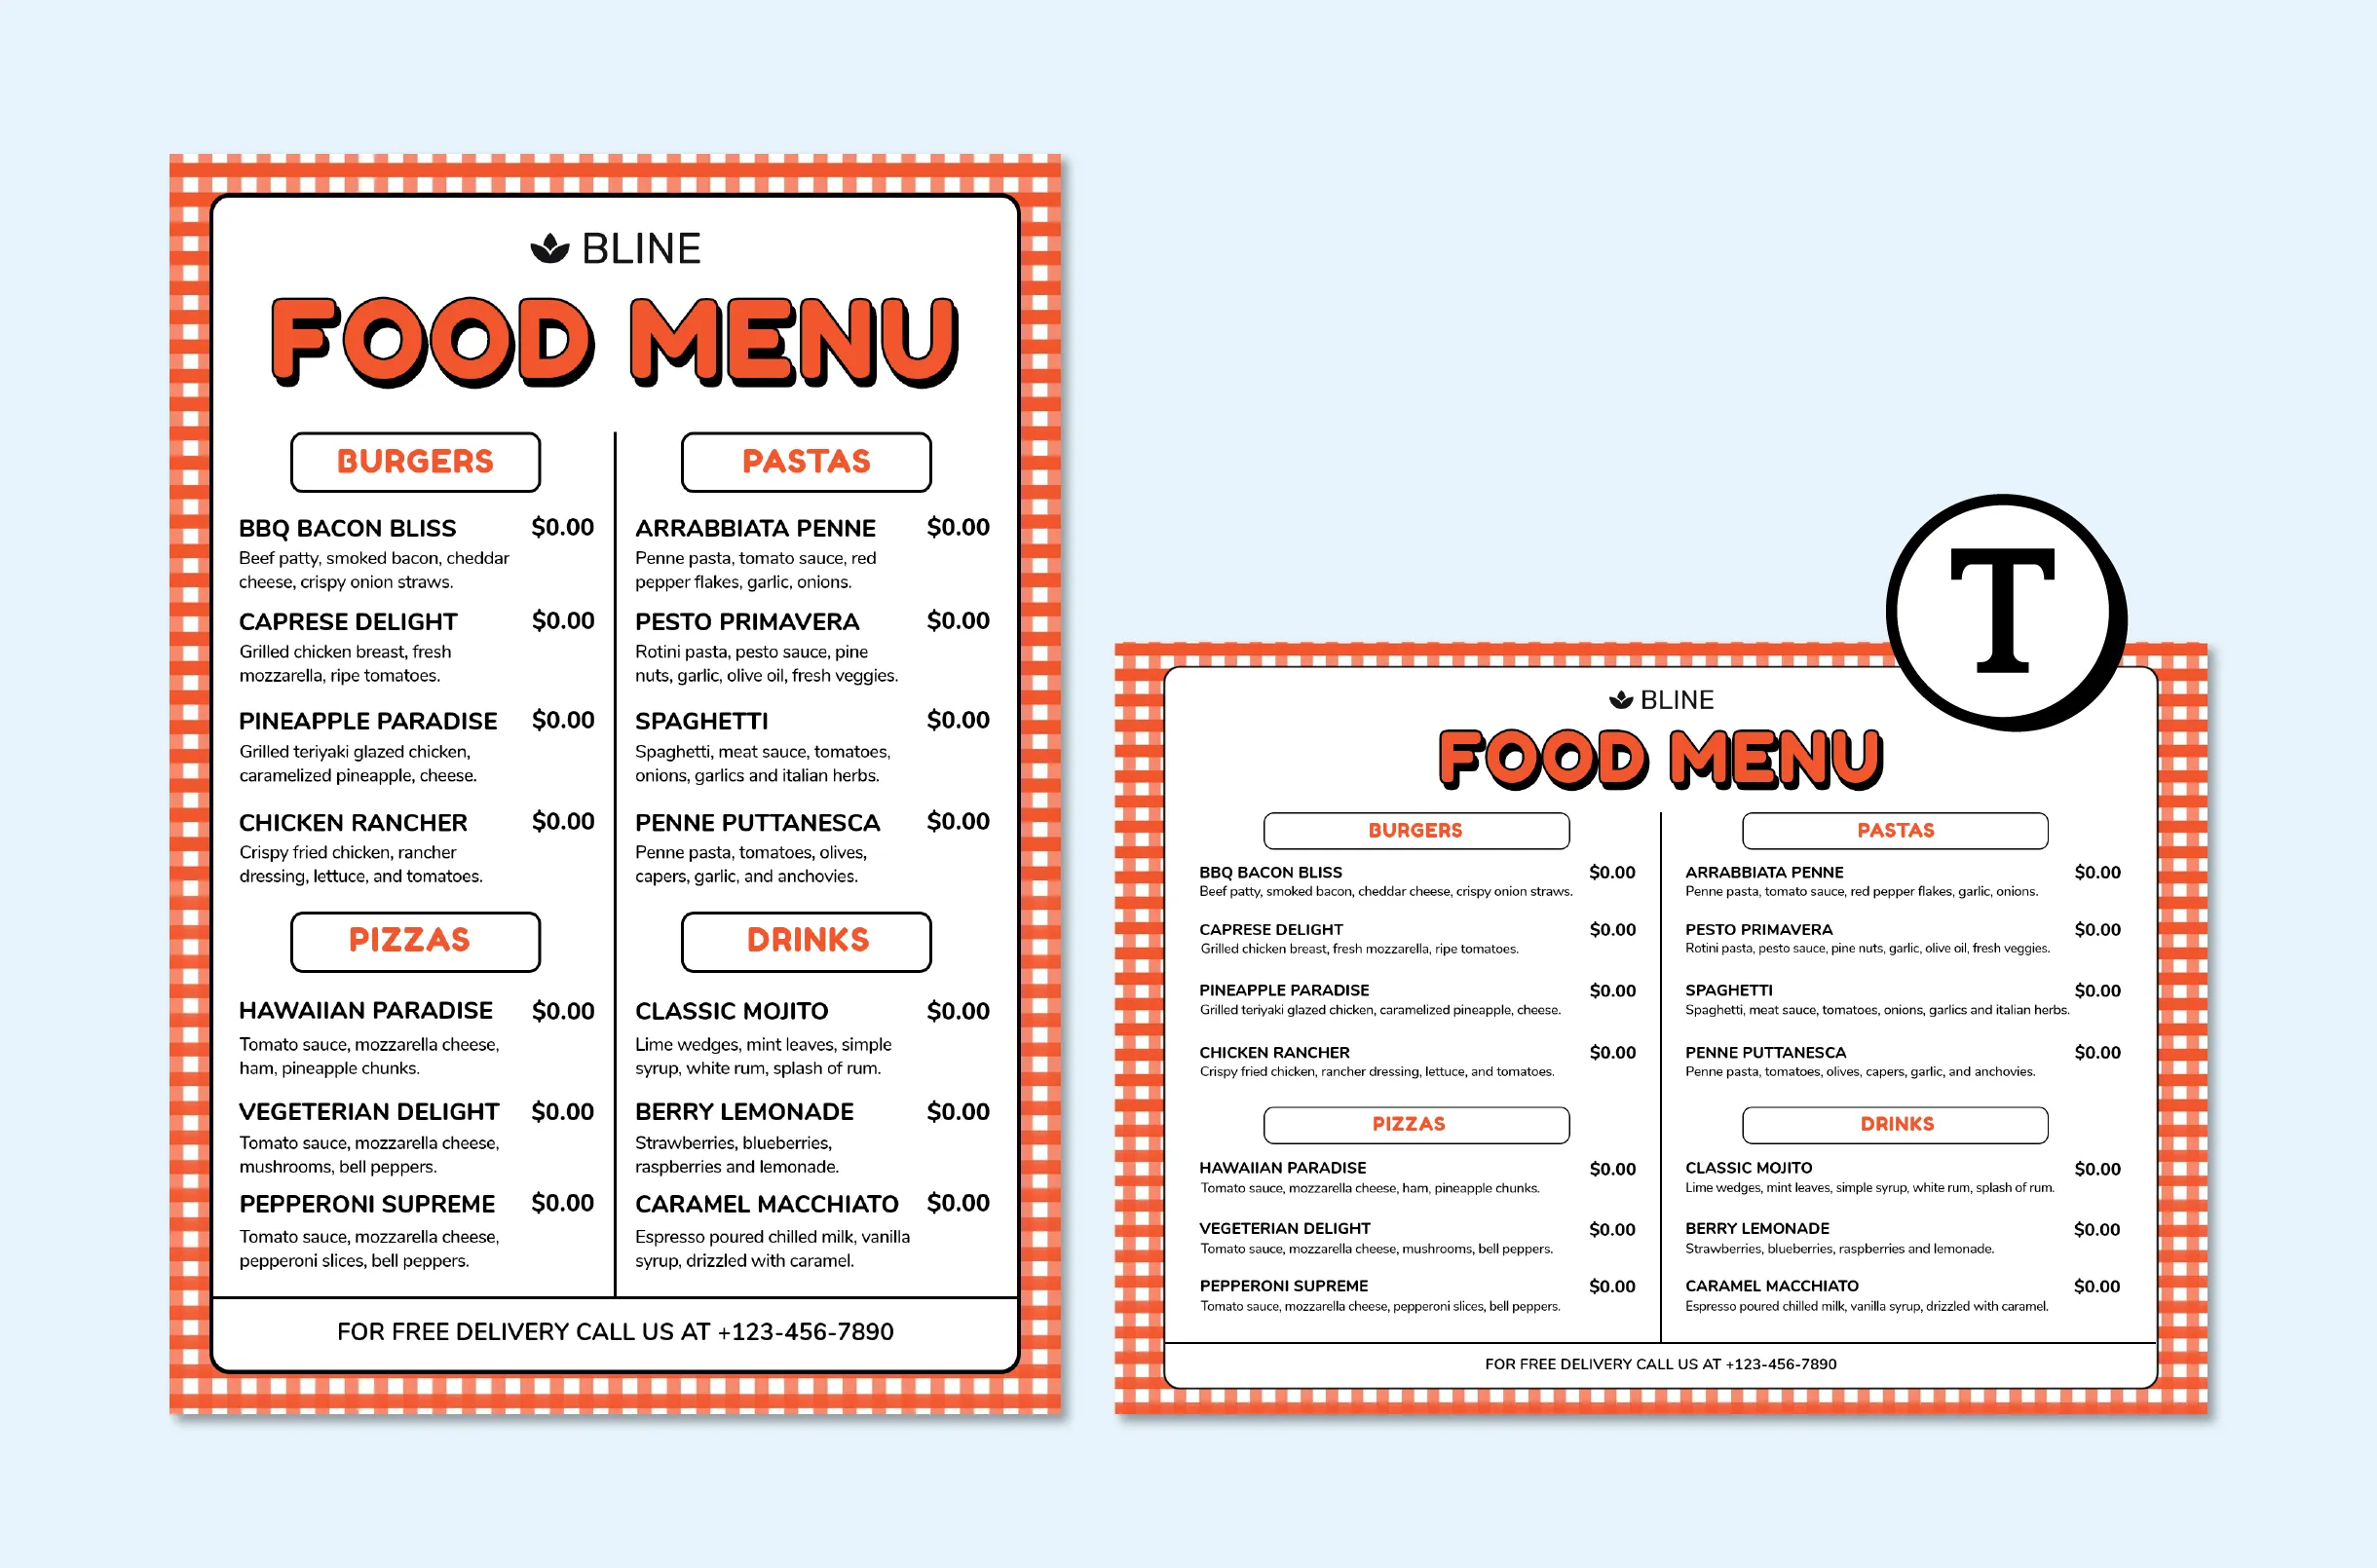
En ce qui concerne la différence entre les fichiers vectoriels et les fichiers matriciels pour l'impression, vous devez choisir les fichiers vectoriels parce qu'ils sont indépendants de la résolution, de petite taille et plus faciles à éditer.
- Finaliser votre Design
Une fois la conception terminée, vérifiez les paramètres de sortie pour l'impression des PDF et vérifiez que le fichier ou le document ne contient pas d'erreurs. Et pour cela il y a quelques étapes à respecter :
Vérification de votre document
Lors de la relecture des fichiers PDF, il convient de prêter une attention particulière à l'orthographe, à la grammaire et à l'alignement du texte. Si nécessaire, convertissez le texte en contours et aplatissez les couches.
Liste de contrôle avant vol
Enfin, vérifiez une dernière fois la précision des couleurs et l'alignement du fichier. Si nécessaire, procédez à des ajustements. Vous devez relire le document jusqu'à ce que vous soyez satisfait. Enfin, assurez-vous que les images et les polices sont intégrées, puis enregistrez votre fichier en tant que PDF prêt à imprimer.
Conseils pour créer des PDF prêts à imprimer
Voici quelques conseils sur design pour tous ceux qui souhaitent créer des fichiers PSD prêts à imprimer selon des normes d'impression professionnelles :
#1. Optimisation des paramètres du PDF
L'optimisation des PDF pour l'impression est cruciale ; vous devez choisir le bon template et créer vos fichiers selon les normes de précision les plus élevées. En outre, comprimez votre fichier et assurez-vous qu'il est conforme aux normes PDF/X :
- Normes PDF/X pour l'impression
PDF/X est une variante du format de fichier PDF. En paramétrant vos fichiers selon les normes PDF/X, vous vous assurez que l'imprimante peut les ouvrir et qu'il y aura un minimum d'erreurs lors de l'impression.
- Paramètres de compression
Compresser le fichier. Vous pouvez ainsi réduire la taille de votre fichier PDF sans perdre ou compromettre les détails et la précision. Si vous envoyez le fichier pour impression sans compression, il peut être extrêmement volumineux et prendre beaucoup de temps à envoyer ou à télécharger.
#2. Garantir la qualité de l'impression
L'autre point important est de garantir la qualité d'impression, et pour cela, vous ne pouvez jamais faire de compromis sur la résolution, le nombre de points par pouce (DPI) et la précision des couleurs :
- Résolution et DPI
Les images de faible qualité sont floues et peu professionnelles. Par conséquent, pour garantir des images de haute qualité, fixez-les toujours à 300 DPI ou plus. N'oubliez pas non plus que les résolutions d'écran sont différentes. Pour garantir la clarté des images dans les impressions finales, augmentez toujours la résolution de vos fichiers prêts à imprimer.
- Précision des couleurs
Utilisez toujours le mode de couleur CMJN pour maintenir la précision des couleurs pendant le processus d'impression et faire en sorte que vos impressions ressemblent à celles qui sont affichées à l'écran.
#3. Gestion des fichiers
Lorsque vous avez préparé les fichiers, nommez-les correctement. Vous devez établir une convention de dénomination logique si vous avez un grand nombre de fichiers et que vous souhaitez les organiser. Par exemple, vous pouvez ajouter la date dans le nom, le numéro de version ou le nom de la campagne.
L'autre chose à faire est d'organiser les calques. Deux options s'offrent à vous à cet égard (l'aplatissement des calques et la fusion des calques). Les calques d'aplatissement éliminent le contenu de layer qui peut ne pas être visible à l'écran et vous permettent d'obtenir des résultats parfaits après l'impression.
Pourquoi Abyssale est-il le meilleur outil pour concevoir des PDF prêts à imprimer ?
Si vous en avez assez de passer des jours à créer des fichiers PDF prêts à imprimer, automatisez votre travail avec Abyssale et décuplez votre vitesse de production de PDF imprimés. De plus, l'outil génère tous les styles, copies et versions dont vous avez besoin.
- Vue d'ensemble Abyssale
Pour en savoir plus sur Abyssale et examiner de plus près ses caractéristiques, cliquez ici :
Caractéristiques
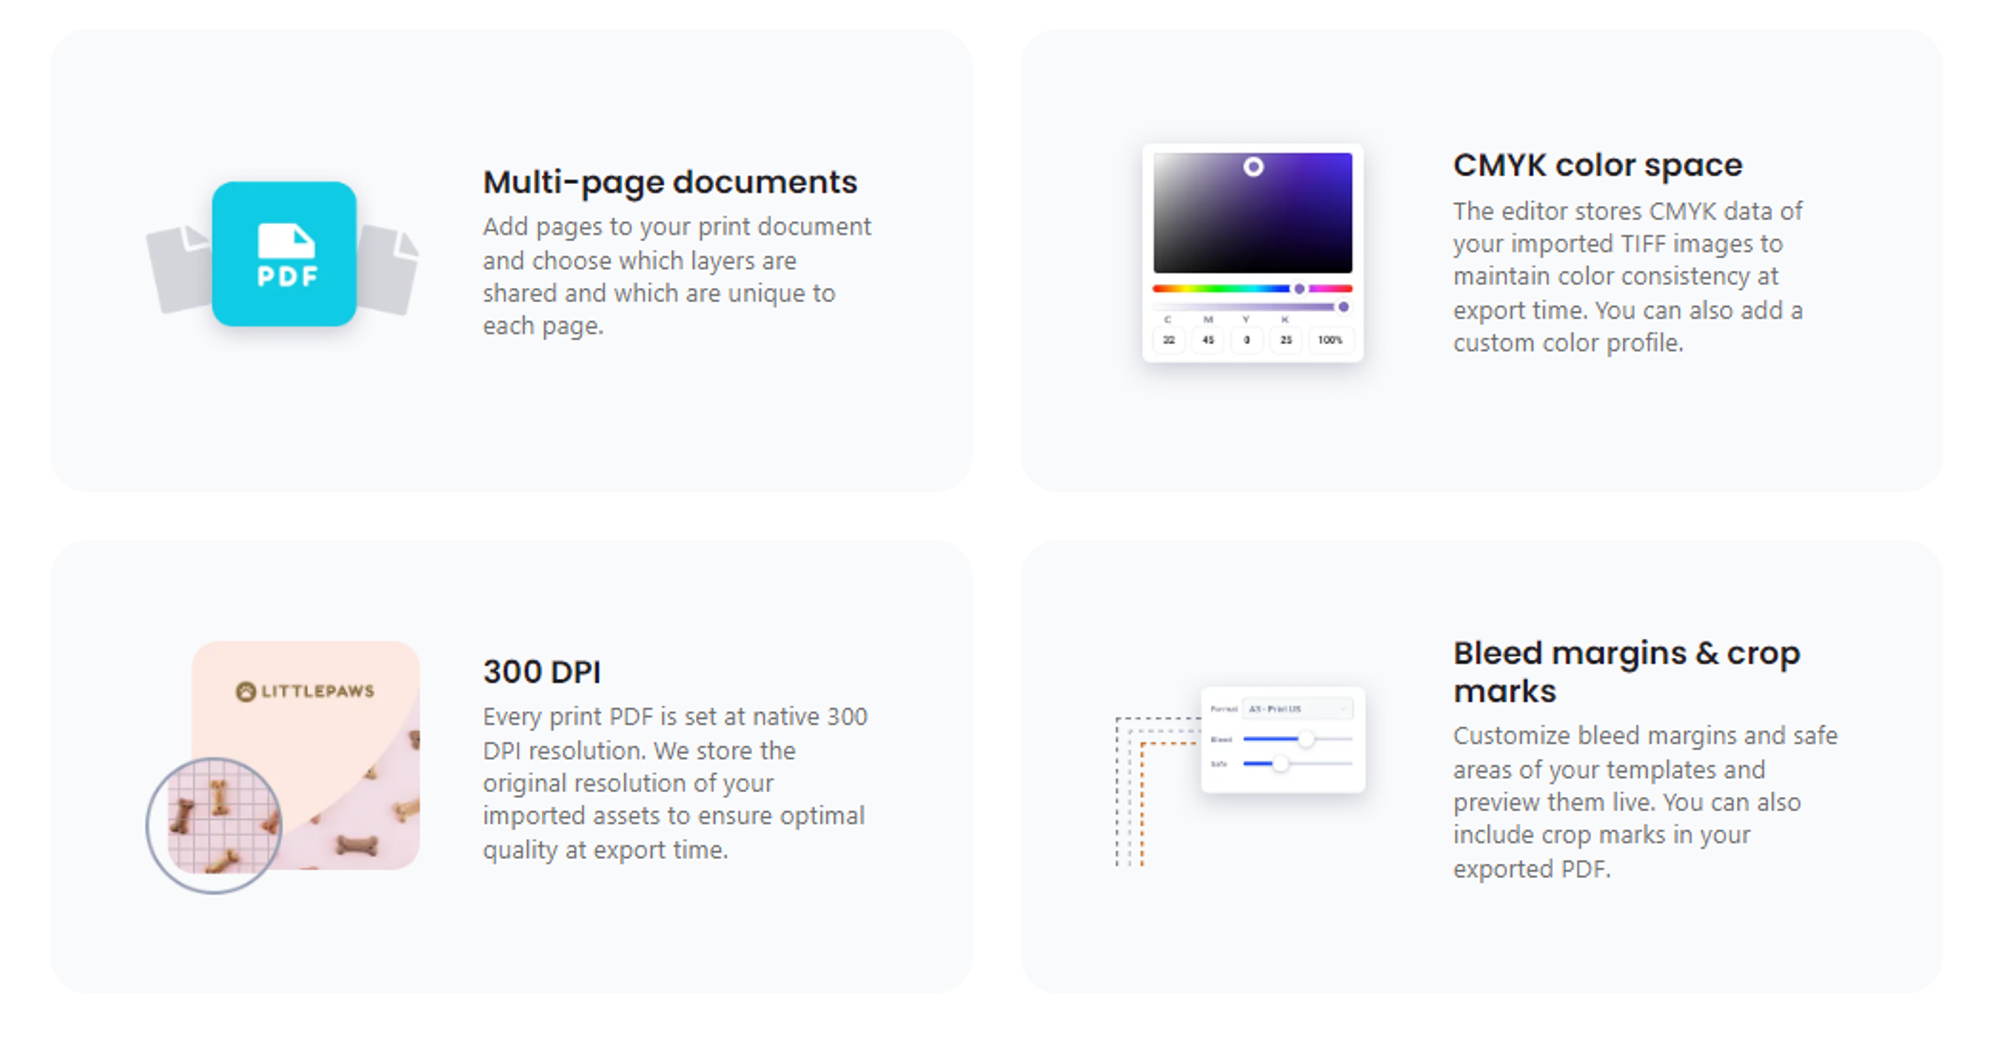
- Documents multi-pages: Vous pouvez facilement ajouter des pages à vos documents et sélectionner les couches qui doivent être partagées et celles qui sont uniques pour chaque page.
- Espace couleur CMJN: L'éditeur stocke les données CMJN des images TIFF importées et maintient la cohérence des couleurs au moment de l'exportation. Il peut également ajouter des profils de couleurs personnalisés.
- Résolutions de 300 DPI: Avec Abyssale, vous pouvez définir chaque fichier PDF à une résolution de 300 DPI pour garantir une qualité d'impression optimale.
- Prêt pour le PDF/X-4: Les utilisateurs peuvent générer des documents PDF/X-4 optimisés pour une production imprimée de haute qualité. Abyssale offre également des fonctions avancées telles que la transparence et les profils de couleur ICC.
- Marges de fond perdu et repères de coupe: Abyssale permet aux utilisateurs de personnaliser les marges de fond perdu et les zones de sécurité de leurs documents et de les prévisualiser.
Avantages
- Importation rapide d'un fichier PSD à l'aide du plugin Photoshop
- Abyssale vous offre un développement personnalisé
- Maintenez la précision et la cohérence de vos dessins à l'aide de règles et de guides.
- Une interface utilisateur et une expérience utilisateur de premier ordre
Comment Abyssale simplifie l'impression Design?
Abyssale possède une interface conviviale. Ses opérations intuitives rendent cet outil accessible aux utilisateurs de tous niveaux et leur permettent de créer facilement et rapidement des PDF de haute qualité prêts à être imprimés.
En outre, Abyssale propose des sites pré-construits templates et des options de personnalisation infinies. Par exemple, vous pouvez générer des bannières en modifiant les couleurs, le texte, les images et les polices dans le site professionnel templates.
Alors, si vous aussi vous voulez accélérer vos campagnes de marketing, demandez l'aide de Abyssale!
Imprimons
Si vous en avez assez des impressions floues et que vous êtes curieux de connaître le secret pour obtenir des impressions de haute qualité, n'oubliez pas de tenir compte de quelques éléments clés lors de la préparation des fichiers PDF pour garantir le succès.
Par exemple, réfléchissez à vos objectifs, choisissez les bonnes couleurs, configurez soigneusement le fichier et soignez les polices de caractères et les images. Et surtout, choisissez le bon logiciel, comme Abyssale, qui peut automatiser votre travail, vous faire gagner du temps et vous permettre de vous concentrer sur d'autres tâches !
Commencez gratuitement
Maître Abyssale's spreadsheet
Explorez nos guides et tutoriels pour exploiter tout le potentiel de la fonction Abyssale's spreadsheet pour la production de contenu à grande échelle.
Créer une signature e-mail personnalisée et modifiable au gré des campagnes


%2520(14).webp)

